Little Wood, Little Rope Thermostat
(Disclaimer, “little wood, little rope” is a badly translated Dutch colloquialism: houtje touwtje. Which means as much as a jerry-rigged or janky solution)
tl;dr#
3D printer + esphome + home assitant = smart thermostat control
The “problem”#
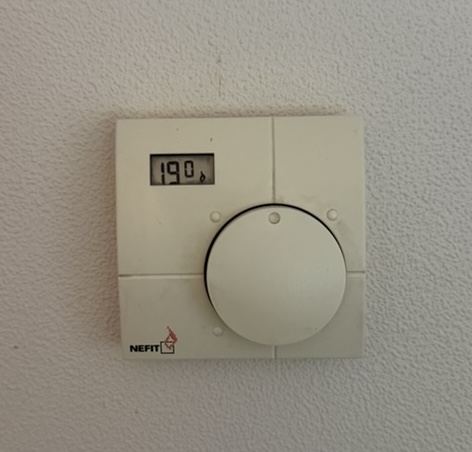
I have a single turnable knob to adjust the temperature in my home. This does work, but when left unattended it just stays on. And when we are away the entire day we come home to a cold house.
I wanted to make it a bit smarter by making it remotely accessible and integrating into Home Assistant.
One of my main points that I don’t want to mess with the current setup too much, preferring a mechanical coupling over anything digital. Mainly because I don’t trust myself with electronics, and if I mess up it should be reversible.
The Idea#
3D print some gears that fit on a servo and around the current button that will allow an ESP32 to drive the servo to change the temperature.
The challenge with this is fitting it all together. The tolerances need to be very tight for the gears to not slip and to allow them to mesh together. An angle on a servo doesn’t translate to a temperature directly. So while putting it together I need to calculate what servo position will lead to a certain temperature.
To make the servo more precise I chose to let the gears have a ratio of 2:1. So the 180° rotation of the servo will translate into a 90° change of the temperature control button. Which I estimated would give me a temperature control of about 8 degrees (from 15° to 23°). We never turn the heat above 22° so the upper limit doesn’t matter that much. And even in the coldest nights the living room never cools down below 16° which ensures that the heating won’t turn on at night.
With that out of the way, I tried to make some 3D printable gear models. I have never done anything like this but I decided to use what seemed like the simplest way: openscad. OpenSCAD is software that allows you to programmatically define 3D objects.
This is the code for the gears:
//gear library from https://github.com/chrisspen/gears
include <gears.scad>

translate([0,0,3]) {
	//big gear
	difference() {
		gear(z=64, m=1.3, x=0, h=5);
		cylinder(h = 15, r = 25.5, center = true);
	}
}


//servo gear
translate([0,-70,3]) rotate(18) difference() {
	gear(z=32, m=1.3, x=0, h=5);
	cylinder(h = 15, r = 2.4, center = true);
}
This generates 2 gears, the big gear with 64 teeth and the small gear with 32 teeth. This worked great and produced 2 gears that mesh together and fit around the servo and the existing button. The r = 25.5 and r = 2.4 were tweaked a couple times to make sure they fit well and didn’t slip.
To mount the servo close to the existing thermostat I iterated a few times.
first iteration#
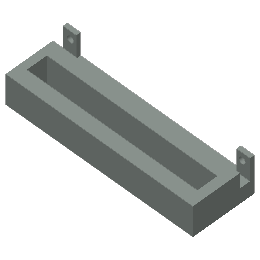
The first iteration featured a horizontal slot where the servo could be mounted into. Because I did not know the final position yet, this slot allows for horizontal movement. This slot allowed me to measure where the servo mount should be in the next iteration. It also features 2 tabs that would fit around the existing thermostat. They turned out to be much too fragile and not needed, I decided to use a ziptie.
second iteration#
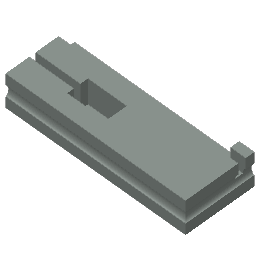
This iteration features a rounded slot around the mount so that the ziptie would not slip when tightened. One of the tabs is still there because that is anchor against the thermostat. The box for the servo turned out to be too small here. It also features a slot which will allow the cables of the servo to fit somewhere.
third iteration#
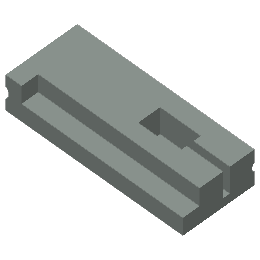 (This one is turned around 180 degrees, apparently I sliced it differently)
This iteration has the tab connected to the main “body” of the mount. The servo box is a bit bigger and this actually fits and works!
fourth / final iteration#
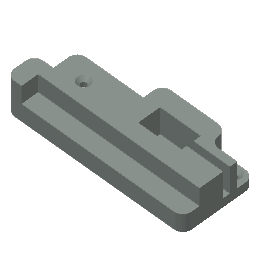
This one is mainly cosmetic. I rounded a lot of the corners to make it a bit prettier. I removed some bulk from the mount to make it quicker to print and also to allow for some screw holes to attach it to the wall. The rounded slots around the whole body were removed.
software#
I used esphome with a ESP32C3 that I had lying around. The servo is controlled by a PWM signal and the esp32 boards use the ledc output for that. Took some time to figure that out. It also exposes servo-value to home assistant for remote control. This is the config (minus some wifi / access things):
esphome:
  name: thermostond
  friendly_name: thermo

esp32:
  board: esp32-c3-devkitm-1
  framework:
    type: arduino


servo:
  - id: my_servo
    output: pwm_output
    auto_detach_time: 5s
    transition_length: 1s

output:
  - platform: ledc
    id: pwm_output
    pin: GPIO2
    frequency: 50 Hz

number:
  - platform: template
    name: servo-value
    min_value: -100
    max_value: 100
    step: 1
    optimistic: true
    set_action:
      then:
        - servo.write:
            id: my_servo
            level: !lambda 'return x / 100.0;'
home assistant#
In home assistant I created an input number helper that is used to input a temperature value, with a min of 13 and a max of 23. And I created an automation that translates that temperature value into a servo offset:
action: number.set_value
metadata: {}
data:
  value: "{{ (((states('input_number.thermostaat') | float(13))-18) * 20) }}"
target:
  entity_id: number.thermostond_servo_value
It takes the input_number.thermostaat (or 13 as a default) and with some fancy math translates it into a value between -100 and 100 which is then inserted through ESPhome into the servo above.
final product#
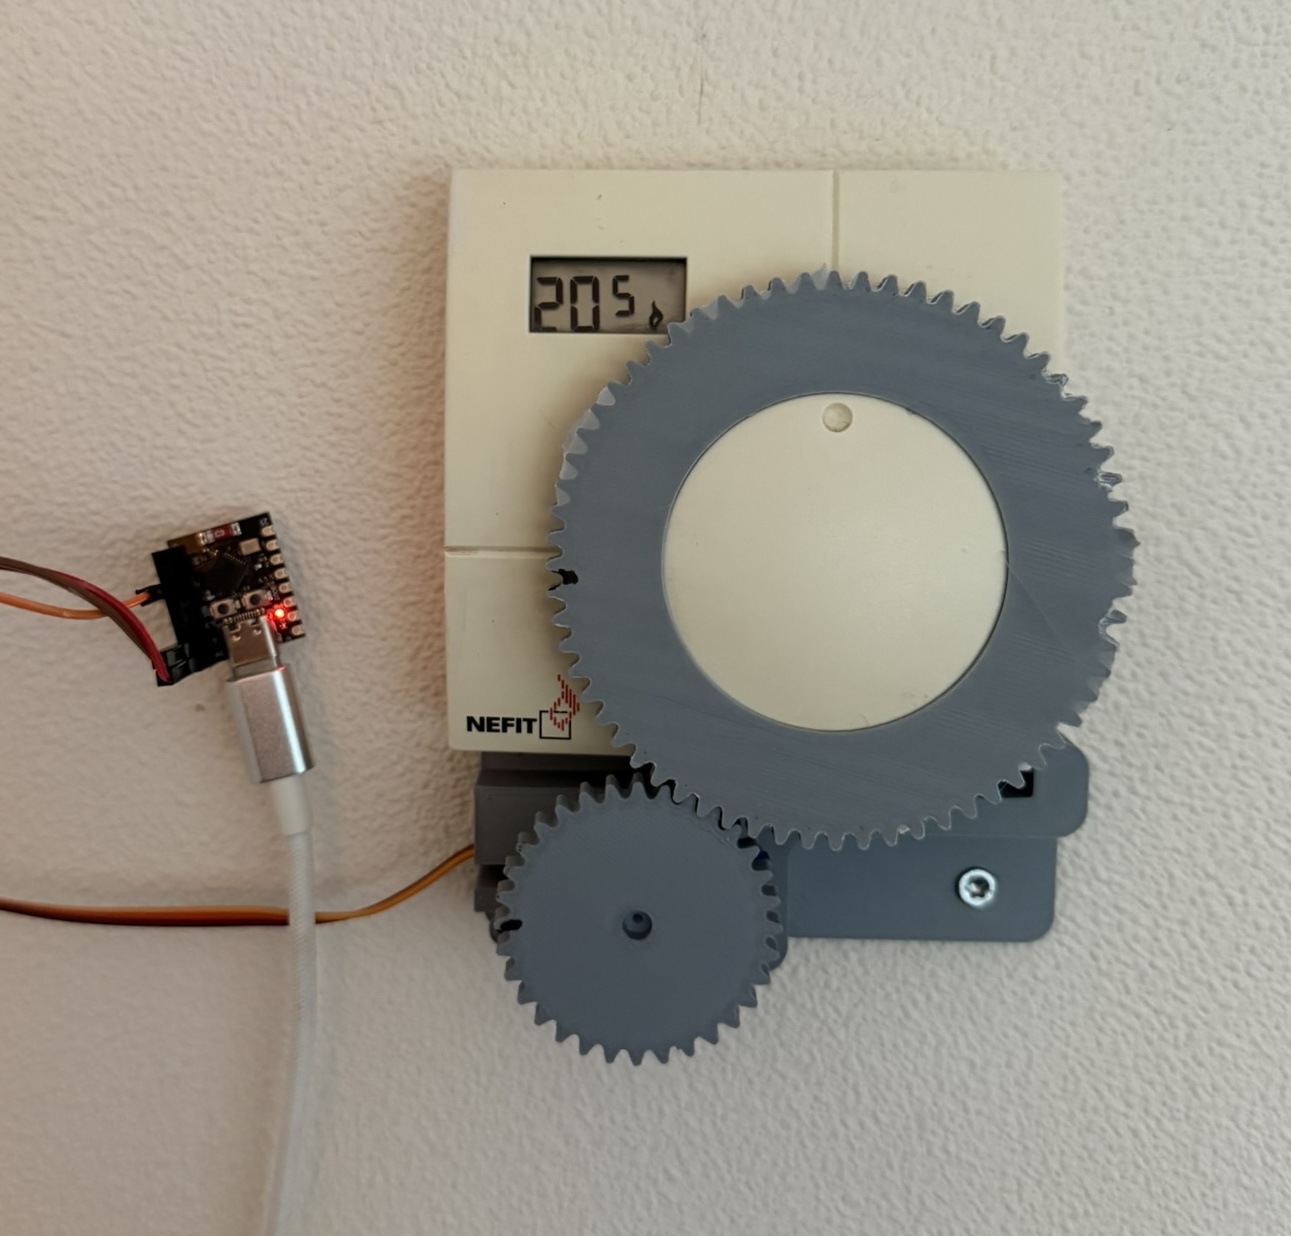
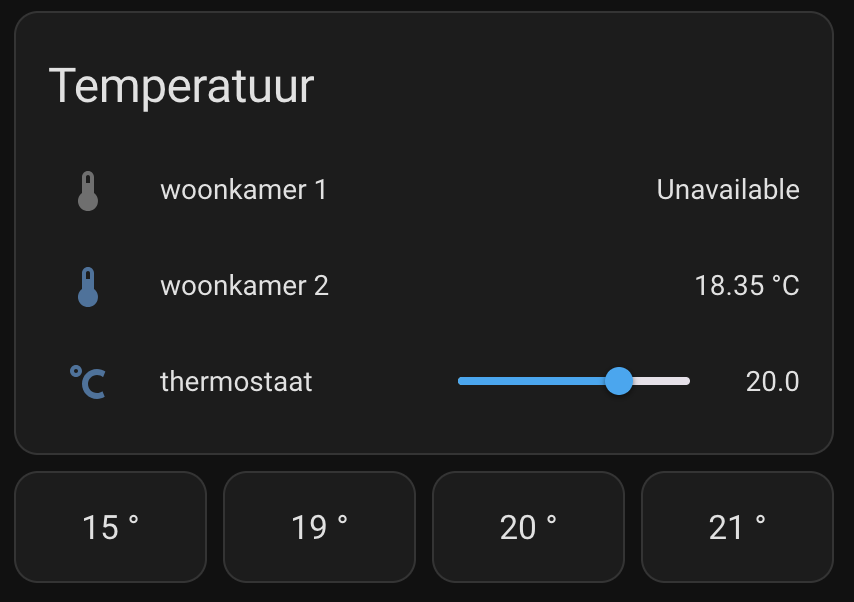
I added some controls to my default home assistant dashboard that allows me to select any value through a slider (+- 0.5 degrees) or select one of 4 most used values. And I also automated it so it turns on as soon as there is movement downstairs and turns itself of if no one is home.
ESP love#
Did I mention already that I really love ESPhome and the whole ESP32 ecosystem that is emerging? I have an ESP running espresence which allows me to track my phone and apple watch around the house. I have one running HomeKey that will allow me to unlock my (smart) bold lock with my apple watch. And another ESP32 running ESPhome to trigger my garage door. I also have one running WLED that I used to check if a led strip I salvaged from a toy drone was still working and is now an indicator for my workouts. I really love ESPs!